Google Nexus 10 (samsung-manta): Difference between revisions
Appearance
No edit summary |
|||
| Line 52: | Line 52: | ||
== Installation == | == Installation == | ||
See [[https://wiki.postmarketos.org/wiki/Installation_guide]] | |||
== Power == | == Power == | ||
Revision as of 10:19, 31 January 2021
| This device is still running on armhf, although the processor supports armv7. If you own it, change it and test it that way. |
 Google Nexus 10 | |
| Manufacturer | Google (Samsung) |
|---|---|
| Name | Nexus 10 |
| Codename | samsung-manta |
| Released | 2012 |
| Hardware | |
| Chipset | Exynos 5250 |
| CPU | 1.7 GHz Dual-core Cortex-A15 |
| GPU | Mali T-604 |
| Display | 2560x1600 IPS |
| Storage | 16/32 GB |
| Memory | 2 GB |
| Architecture | armv7 |
| Software | |
| Original software | Android 4.2.2 on Linux 3.0 |
| postmarketOS | |
| Category | testing |
| Pre-built images | no |
| postmarketOS kernel | Lineage 3.4.113 |
| Flashing |
Works |
|---|---|
| USB Networking |
Works |
| Internal storage |
No data |
| SD card |
No data |
| Battery |
No data |
| Screen |
Works |
| Touchscreen |
Works |
| Multimedia | |
| 3D Acceleration |
No data |
| Audio |
No data |
| Camera |
No data |
| Camera Flash |
No data |
| Connectivity | |
| WiFi |
Works |
| Bluetooth |
No data |
| GPS |
No data |
| NFC |
No data |
| Miscellaneous | |
| FDE |
No data |
| USB OTG |
Works |
| HDMI/DP |
No data |
| Sensors | |
| Accelerometer |
No data |
| Magnetometer |
No data |
| Ambient Light |
No data |
| Proximity |
No data |
| Hall Effect |
No data |
| Haptics |
No data |
| Barometer |
No data |
Contributors
- BakaOsaka
- MartijnBraam
Users owning this device
- Alexmrqt
- Blacksilver (Notes: + Replaced battery)
- Ecloud
- Grom (Notes: 2 of them)
- Jenneron
- Joshaspinall (Notes: Boots, no DE)
- Kevinwidjaja21 (Notes: Running PMOS sxmo-de-sway. Power button/Volume broken.)
- Lantizia (Notes: 4 of them)
- MartijnBraam
- Russanandres (Notes: CyanogenMod 10)
How to enter flash mode
- Connect a USB cable
- Power the device off
- Hold power + volume up
- You should get a bootloader screen saying "Downloading... Do not turn off target !!"
Installation
See [[1]]
Power
By default the device will drain its battery even if it is connected to your PC because USB does only provide ~100mA. This can be changed with:
sudo sh -c "echo 1 > /sys/class/power_supply/smb347-usb/usb_hc"
If you want to use a standalone charger, the following commands have to be issued after you plugged in the charger:
sudo sh -c "echo 1 > /sys/class/power_supply/smb347-usb/charger_detection"
Issue the following command to monitor the power consumption:
cat /sys/class/power_supply/ds2784-fuelgauge/current_now
A positive current value means that the battery is charging while a negative current discharges the battery.
Touchscreen
After booting the UI doesn't react to user input. Restarting lightdm solves this:
sudo rc-service lightdm restart
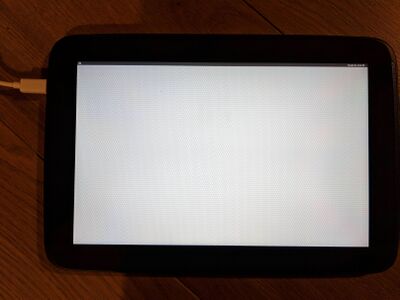
Photos
Mainline
The Exynos 5250 has support in the mainline kernel, so this tablet might be a good candidate.
